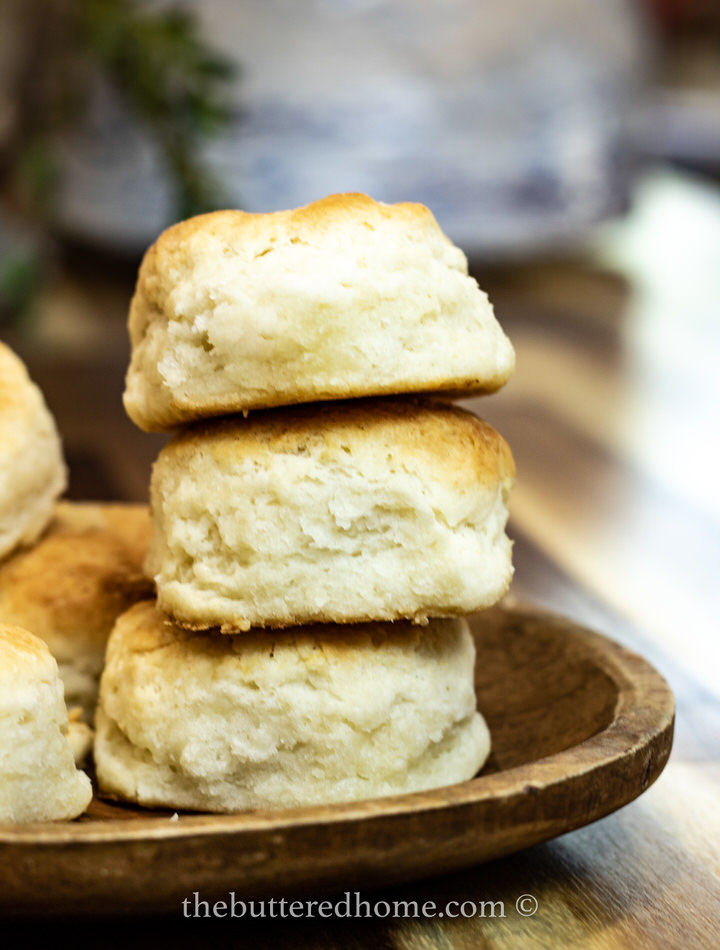
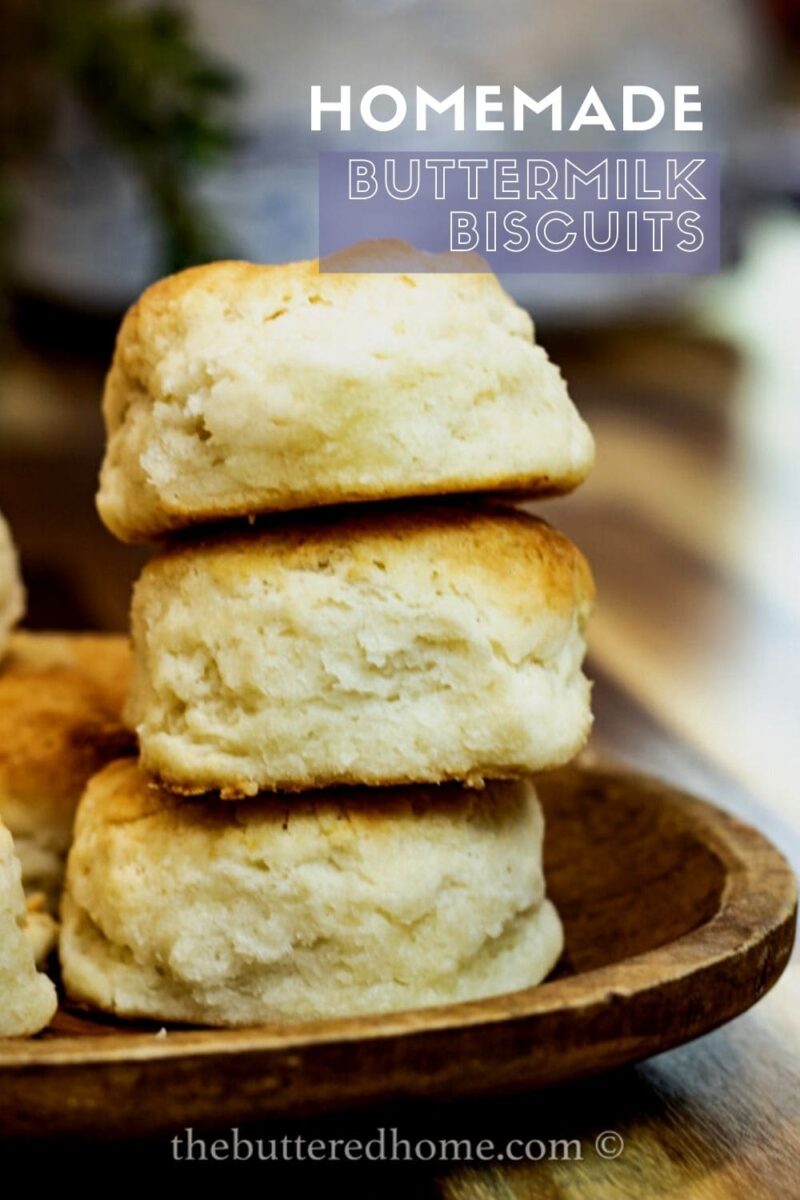
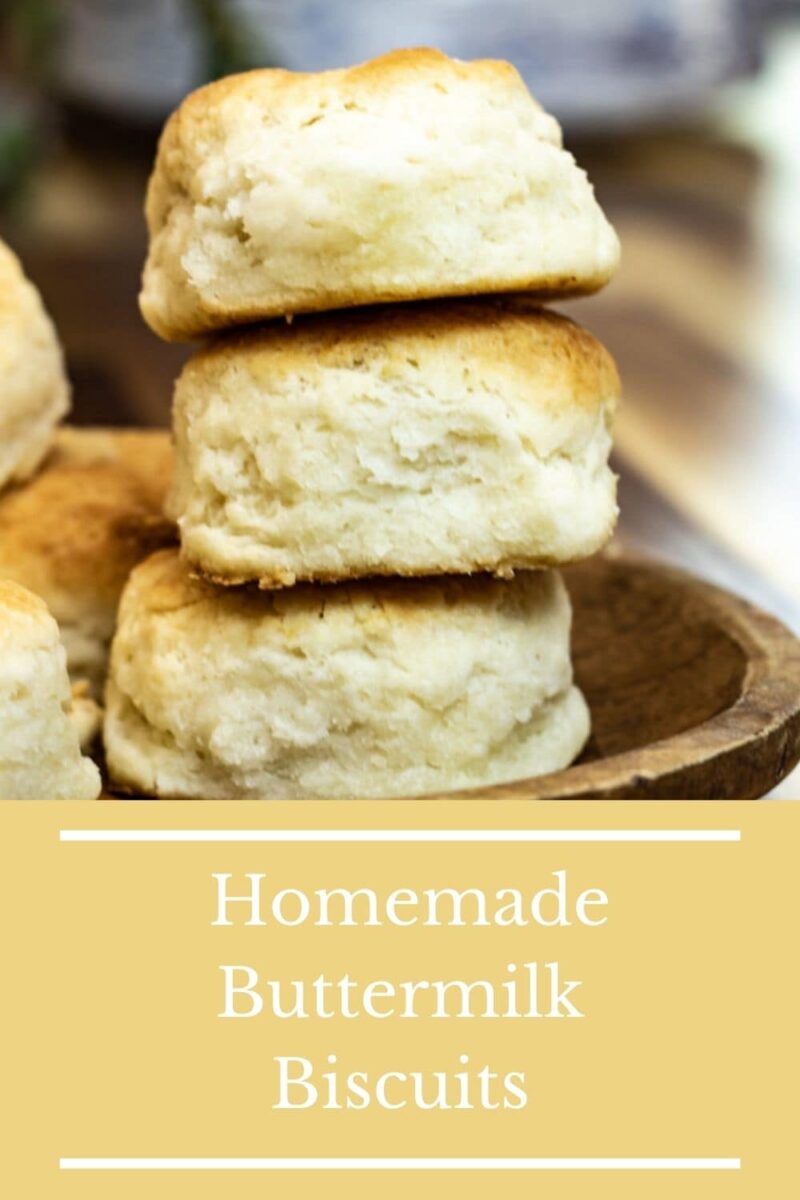
Homemade Biscuits with tall, buttery and flaky layers. Just when you thought they were too hard to make. We show you how simple and delicious they really are.
Homemade Biscuits from Scratch
Homemade Biscuits. So easy, really! One of the first things I said I wanted to do with this blog was encourage scratch made cooking. Homemade cooking like PIE CRUSTS and SAUSAGE GRAVY. Things from days gone by like a family eating at a dinner table, disconnected, talking about their day, those things are slowly going by the wayside.
Now, don’t get me wrong, I love a good gadget. Things that make my life easier in the kitchen are wonderful. I probably have a slight obsession with my Pressure Cooker, but it helps bring my family together in some way.
By us breaking bread together, even on a busy weeknight. Biscuits are a staple in the south. They serve as a spoon, a lever, a plate cleaner, you name it! I see so many people afraid of making them from scratch and it really is so easy, not to mention, cheaper. Here is the basic recipe.
How to Make Homemade Biscuits
~ Ingredients ~
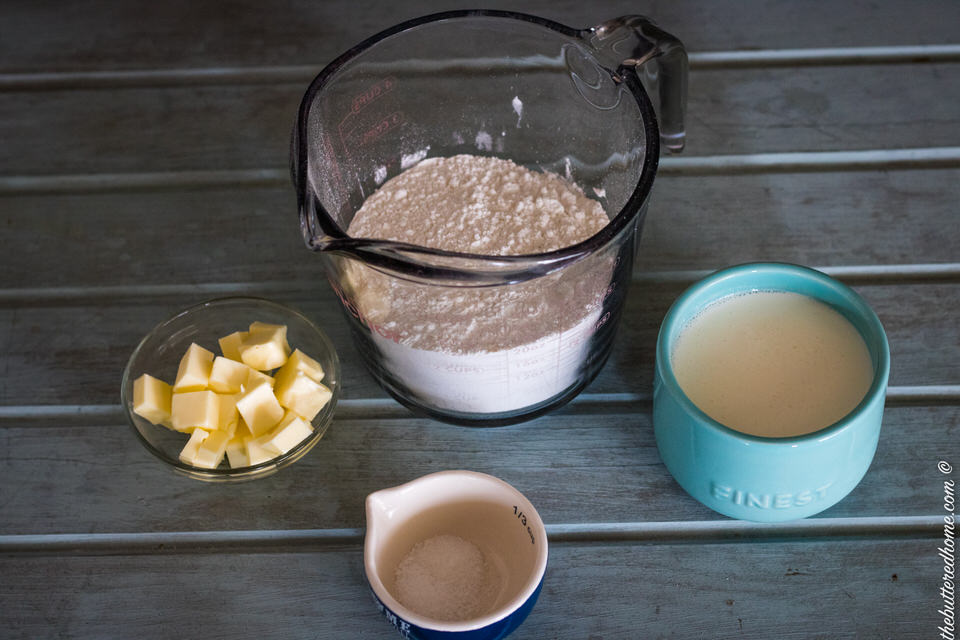
- 2 cups Self Rising Flour
- ¼ cup cold, cubed Butter
- pinch of Salt
- 1 cup Buttermilk
- pinch of sugar (optional)
~ Method ~
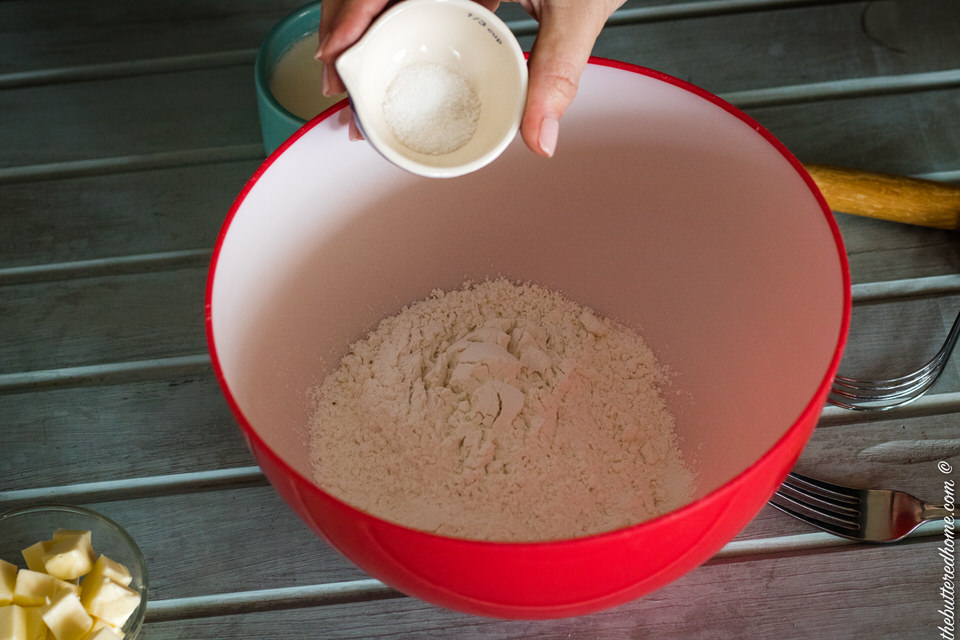
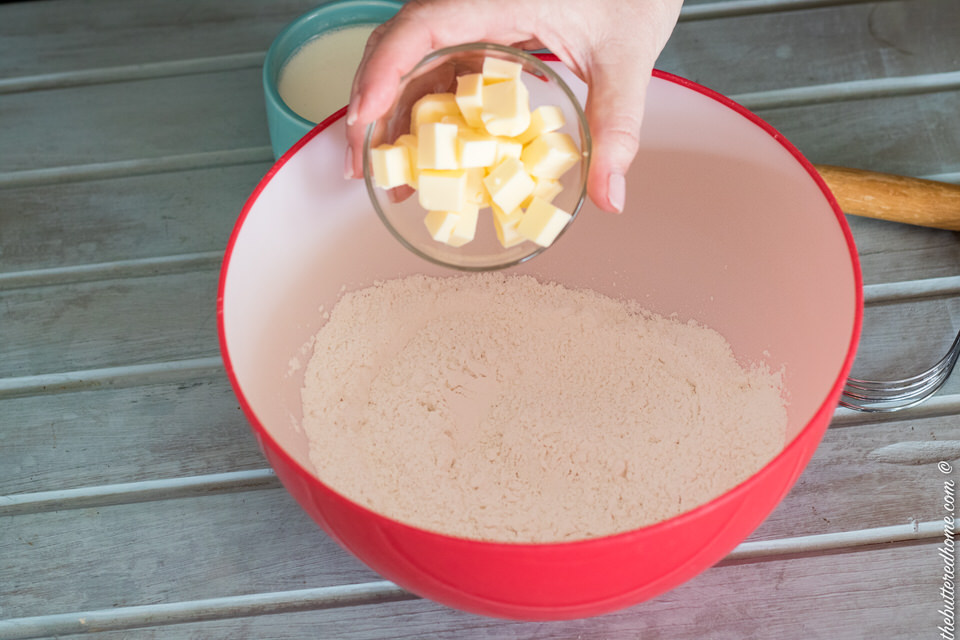
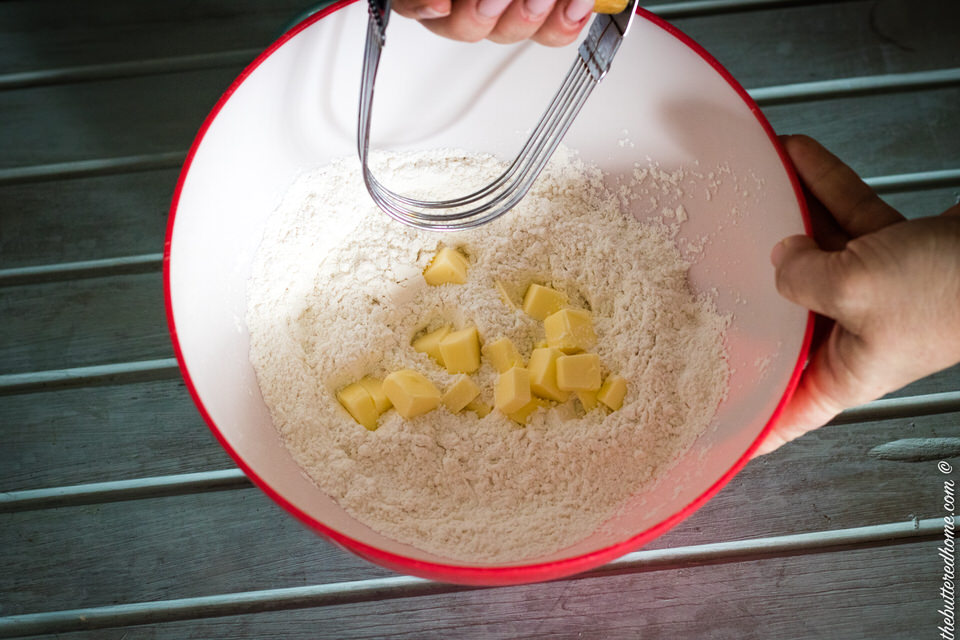
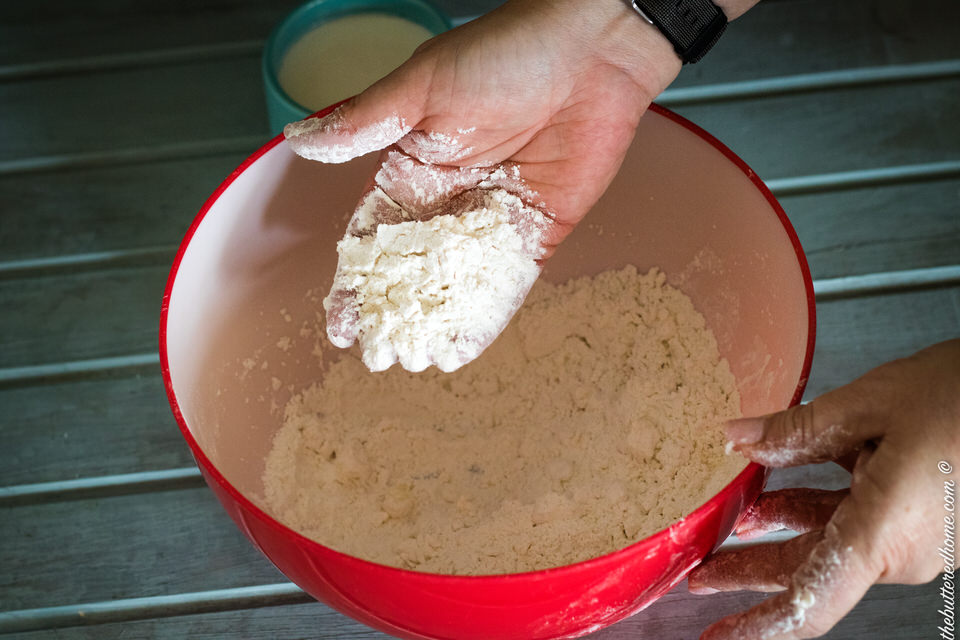
1. Preheat oven to 475 degrees Fahrenheit. In a large bowl, mix your Flour with the salt and sugar. I sift mine together using a whisk! Add the butter and cut in with a pastry cutter or two knives. Cut in the butter until it resembles small peas.
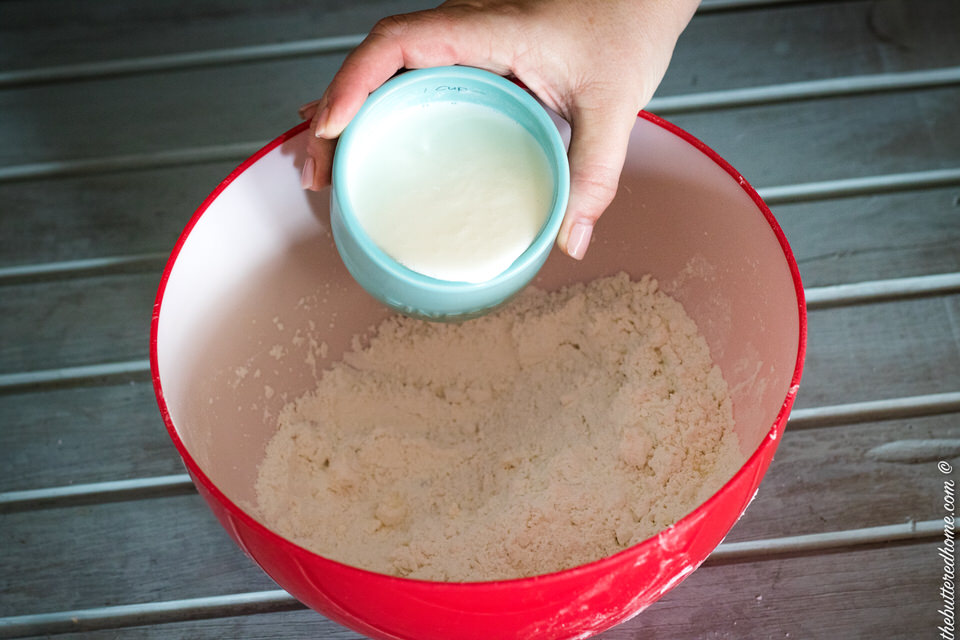
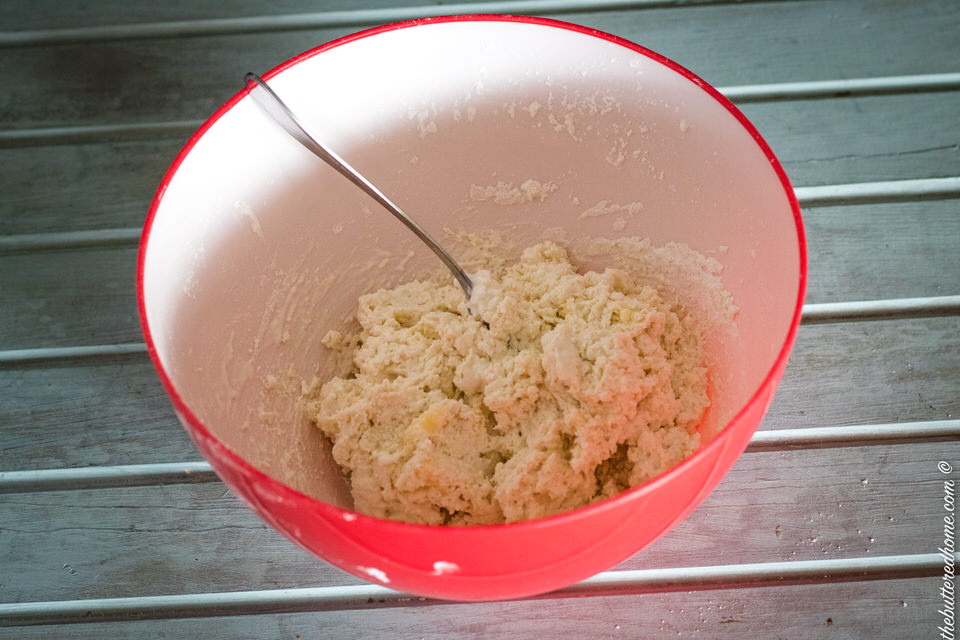
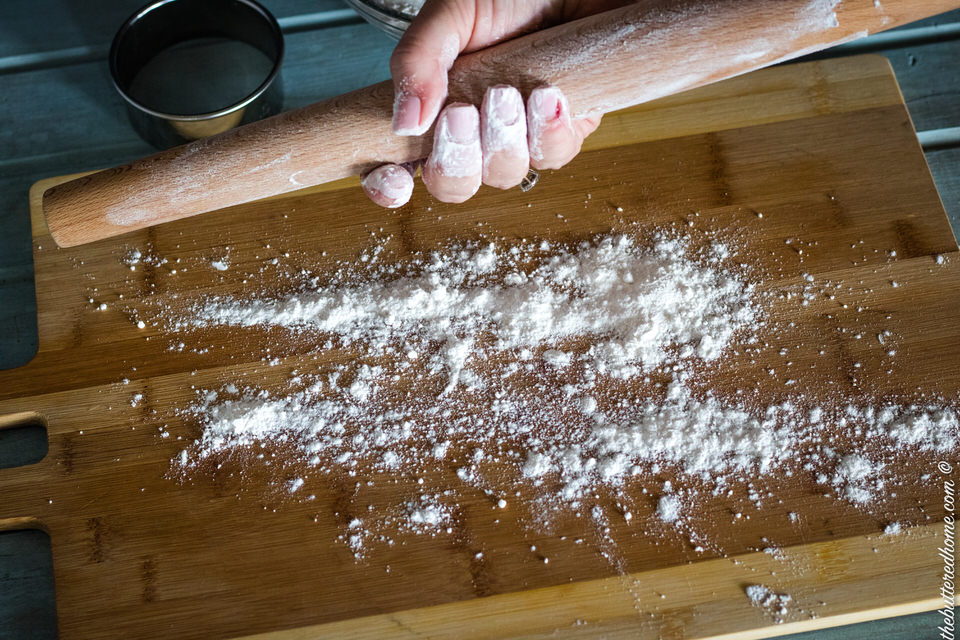
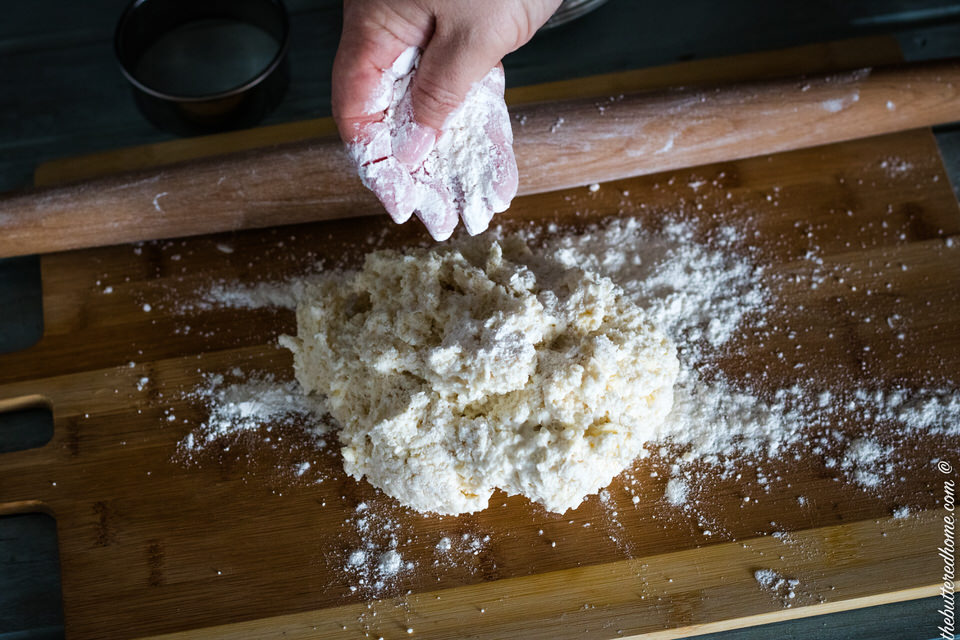
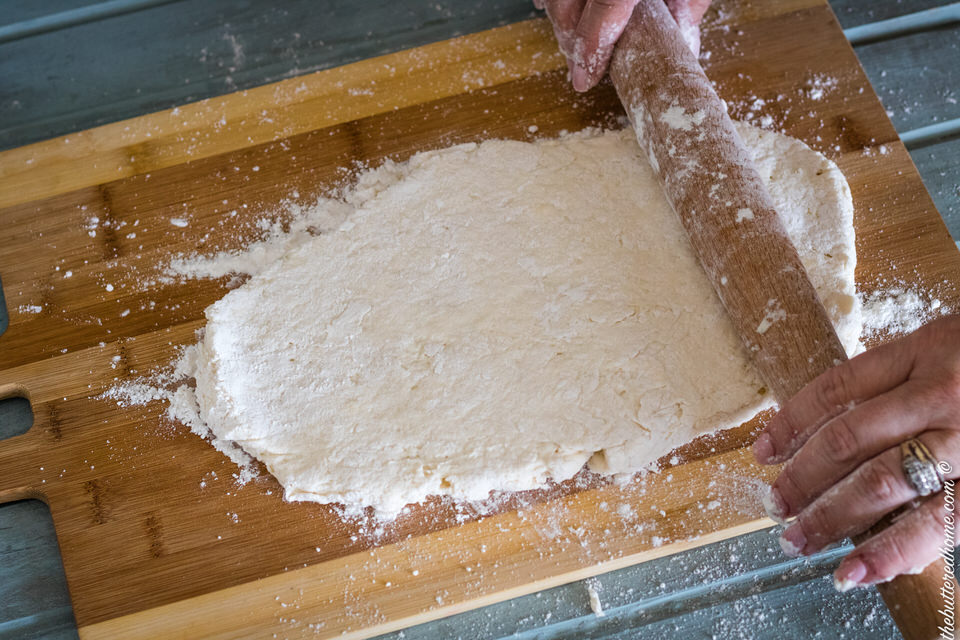
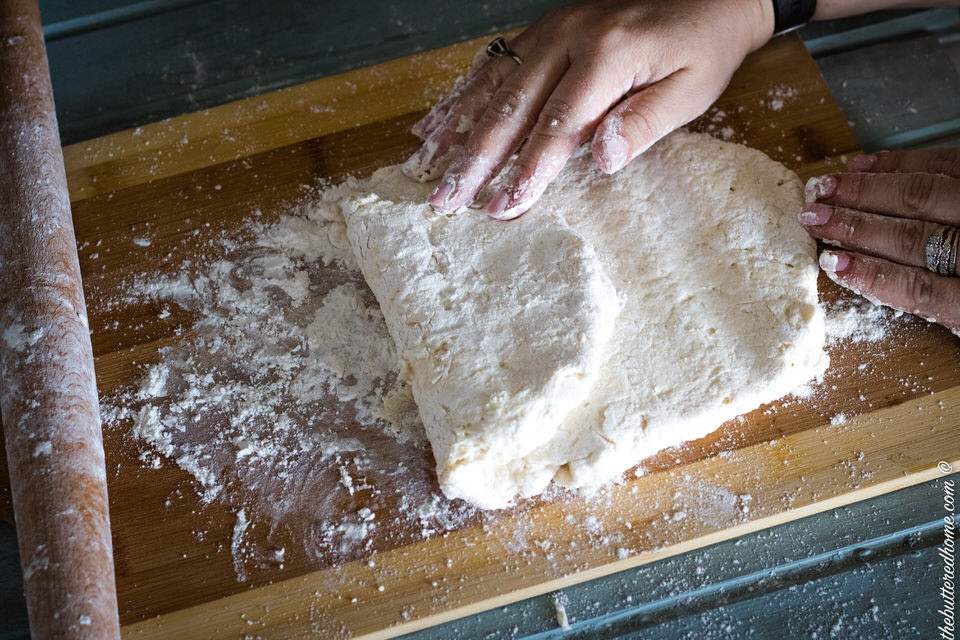
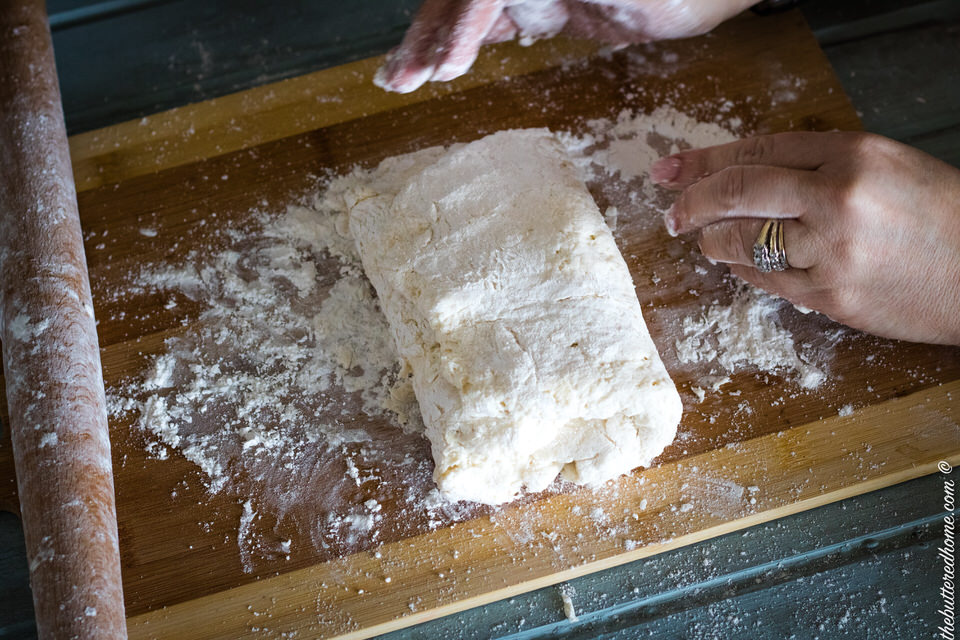
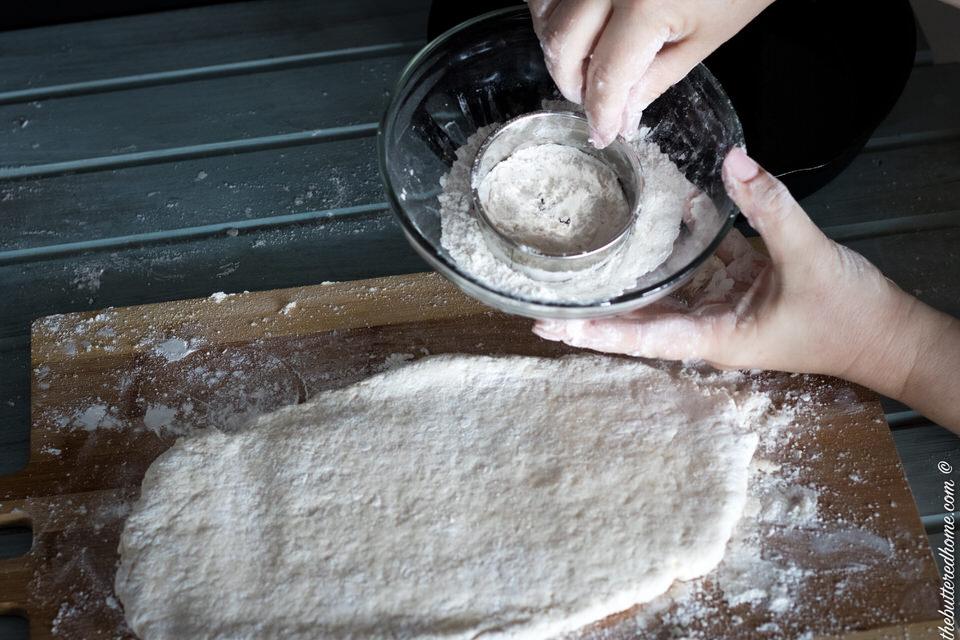
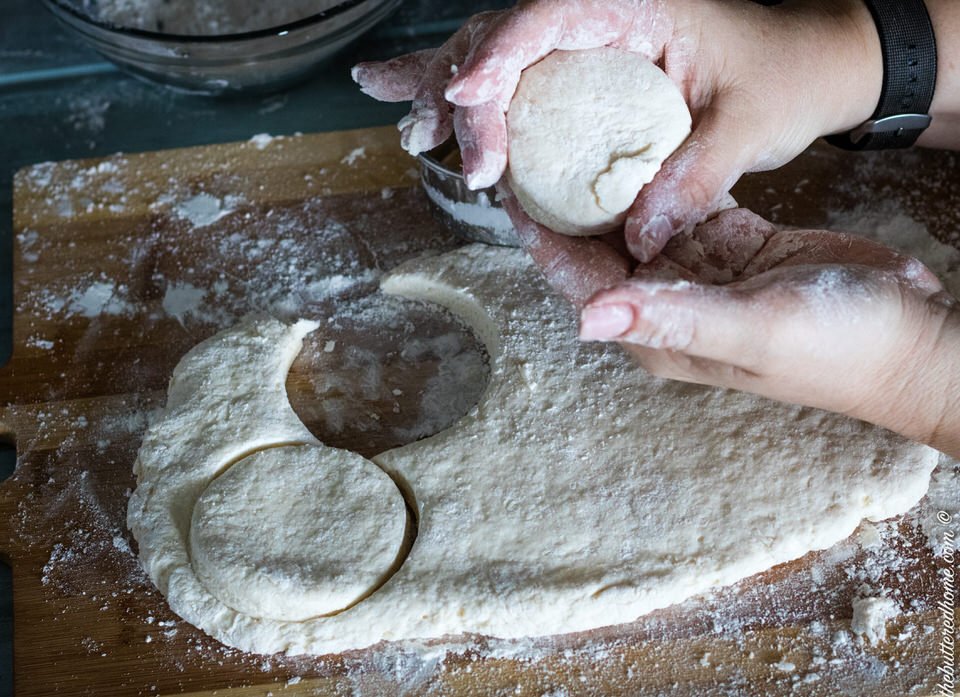
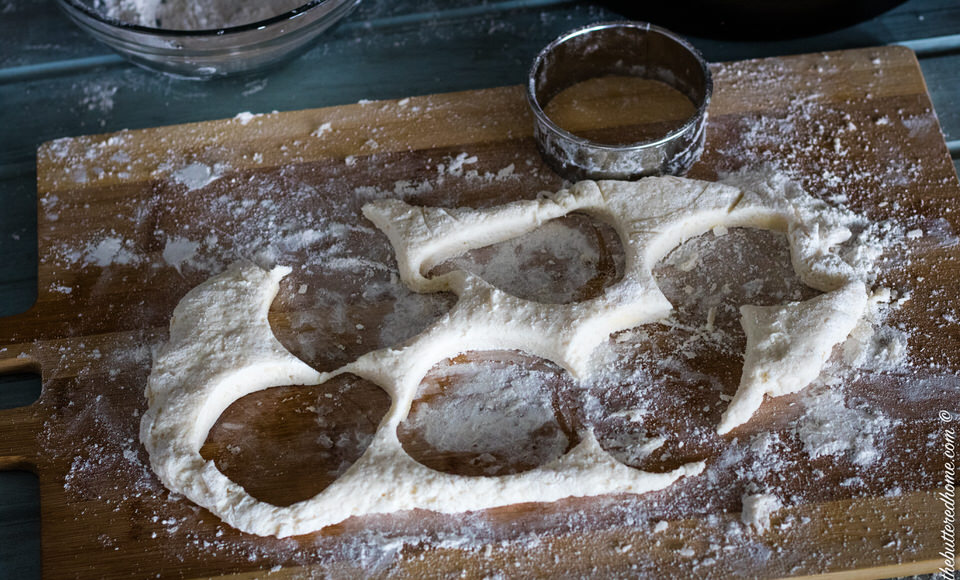
2. Add in the buttermilk slowly just until the dough starts to form but is still kind of straggly, if that is even a word :). Turn out on a floured board or surface and press together into a ball. I roll it out in a rectangle and fold it in on itself. I repeat the rectangle and fold two more times. This technique is similar to making a pie crust. It makes the flaky layers we all love in the biscuit, without working the dough too much. The final roll, I roll to about ¼ to ½ inch thick and cut with a biscuit cutter.
3. Take each biscuit and to form the pretty little dimples on the top, I pat the sides with my thumb and middle finger while gently patting the top with my pointer. It takes a little time but you will eventually get the hang of it. it creates a little dimply pillow of goodness!
4. Place in a lightly greased Cast Iron Skillet leaving a little space between each.Spray the tops with cooking spray and place in a preheated 475 degree oven for 10-15 minutes(depending on your oven) Cook until the tops are brown. Brush with melted butter if you’d like.
Helpful hints making biscuits
After pinching all those little guys to perfect little dimpled clouds, place in a lightly greased Cast Iron Skillet leaving a little space between each. That gives them room to rise.
You can do like me and cheat a little here and spray the tops with cooking spray and place in a preheated 475 degree oven for 10-15 minutes(depending on your oven). Cook until brown. Brush with melted butter if you’d like. That, my friends, is biscuit heaven right there!
If the last bit of dough that is a little bigger than a regular biscuit, press in the cutter to form a larger biscuit. Place him in the middle for the prize biscuit. That one is always reserved for The Hubs, it’s his “cat head biscuit”
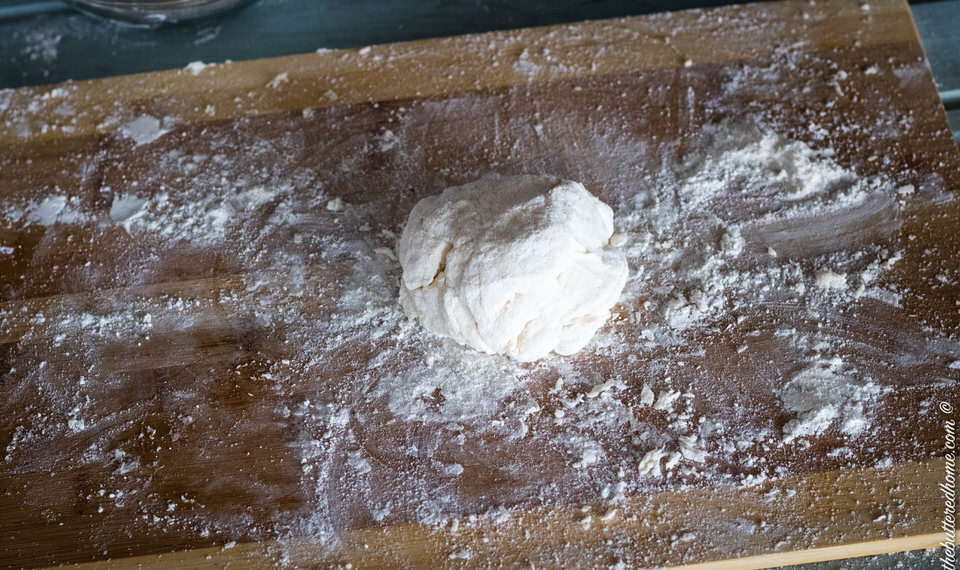
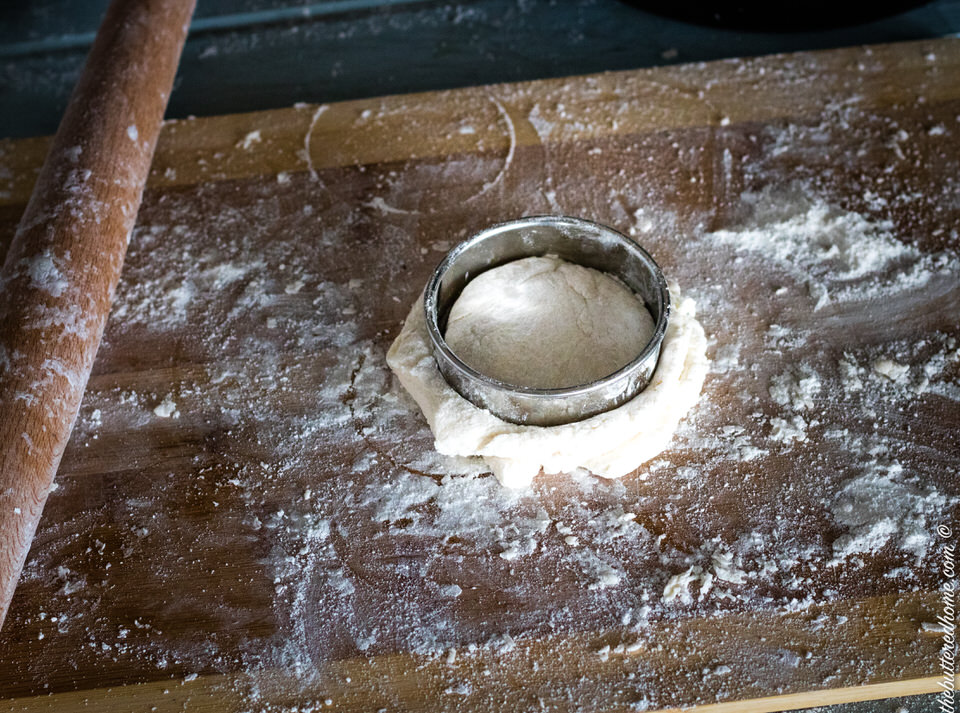
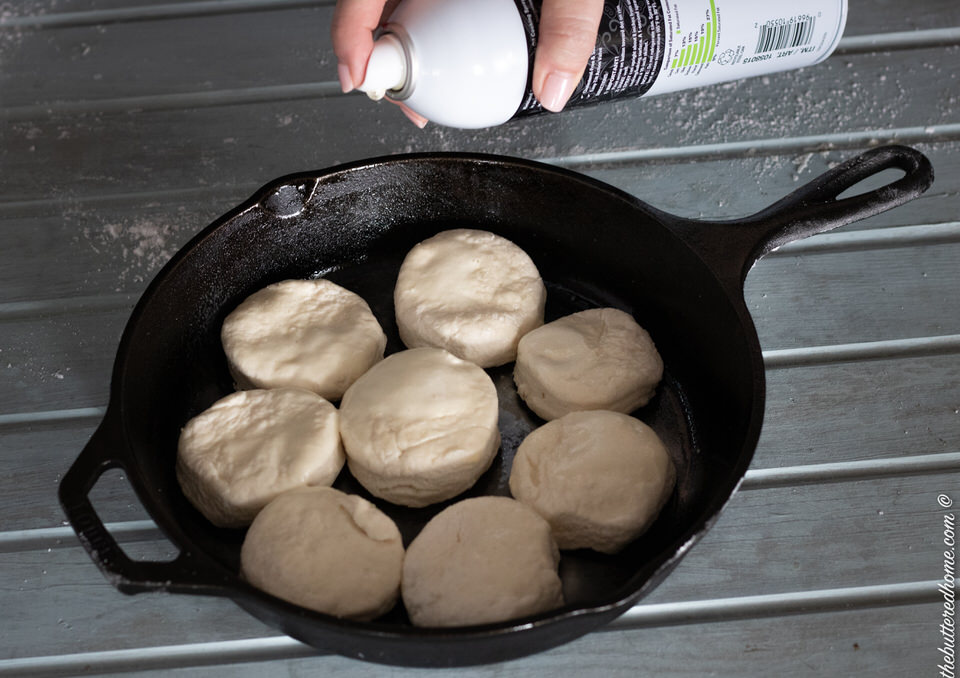
Homemade Biscuits
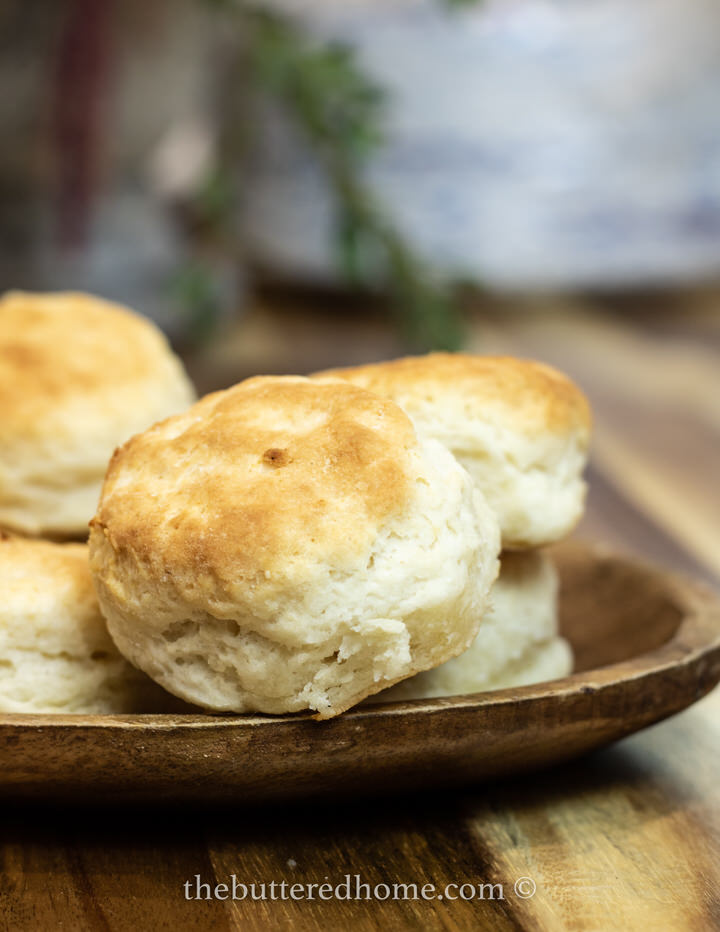
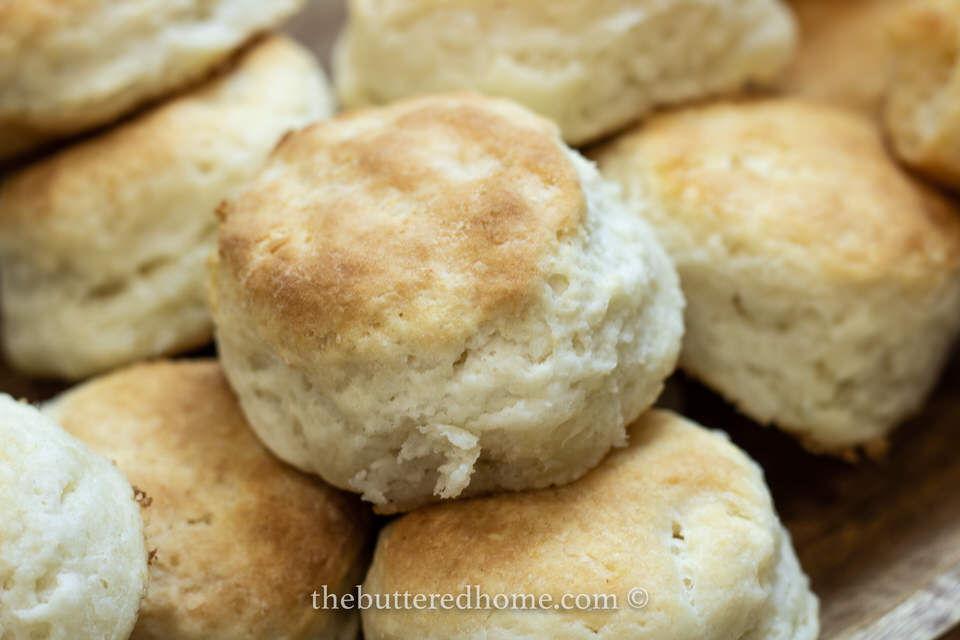
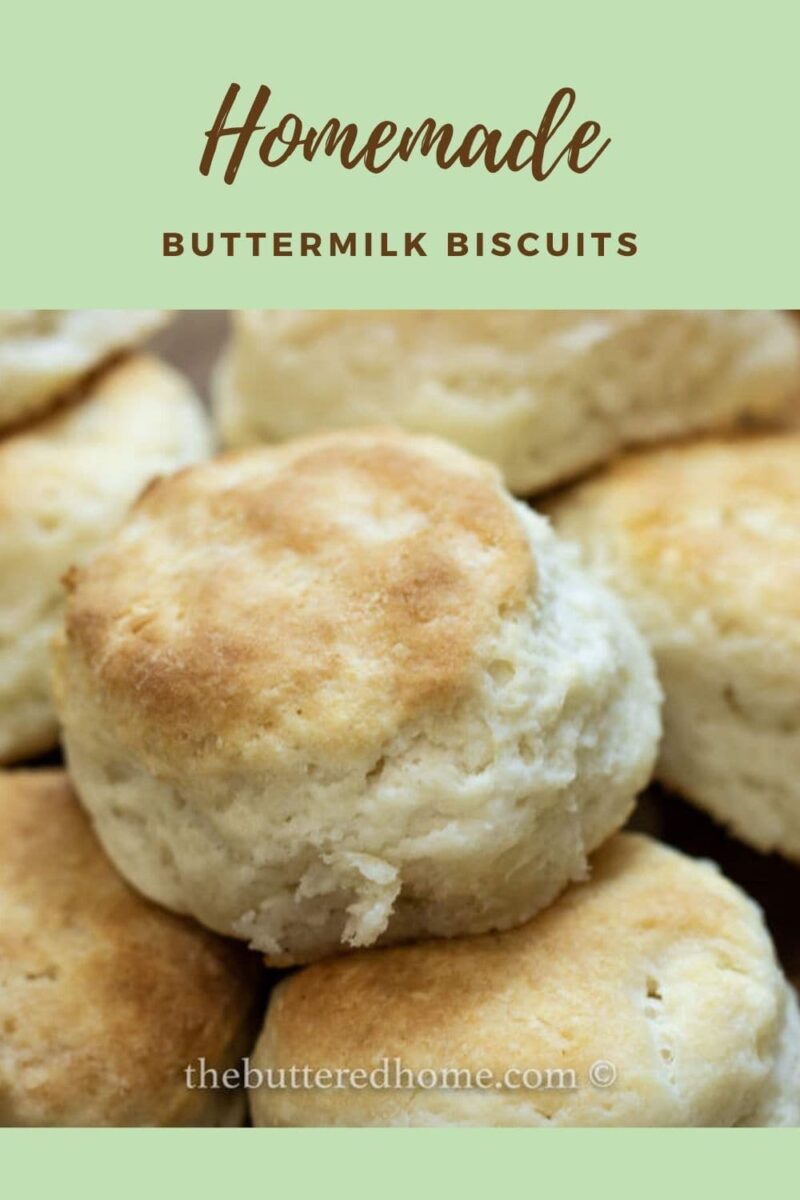
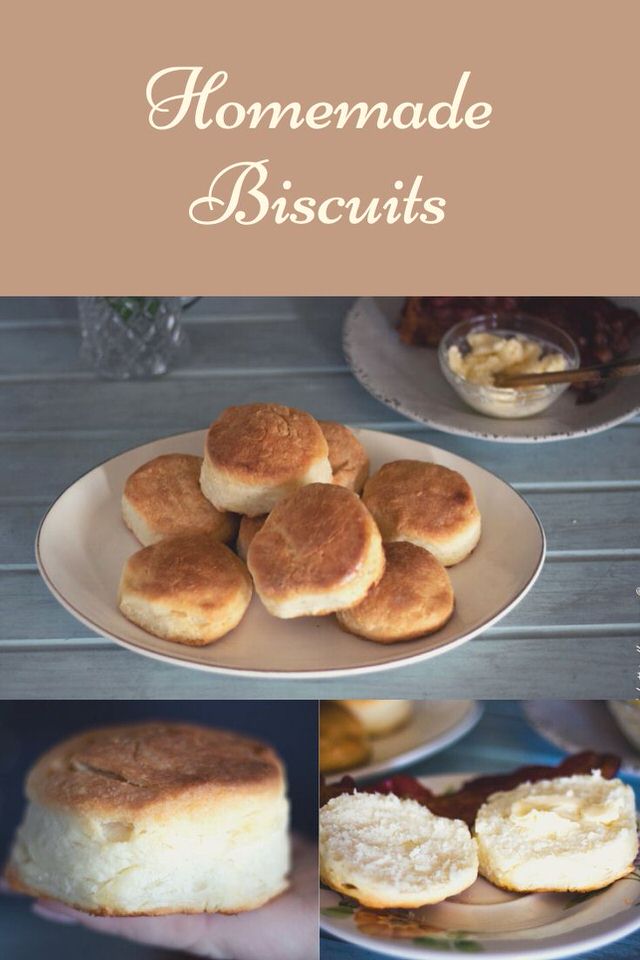
Now isn’t that a sight? You may never buy Whop biscuits again! Whop, as in, Whop on the counter to get that doggone package open! Making them could not be easier!
We love making our standard White Roux and adding in red pepper and garlic to make sawmill gravy. Served over these biscuits is a must!
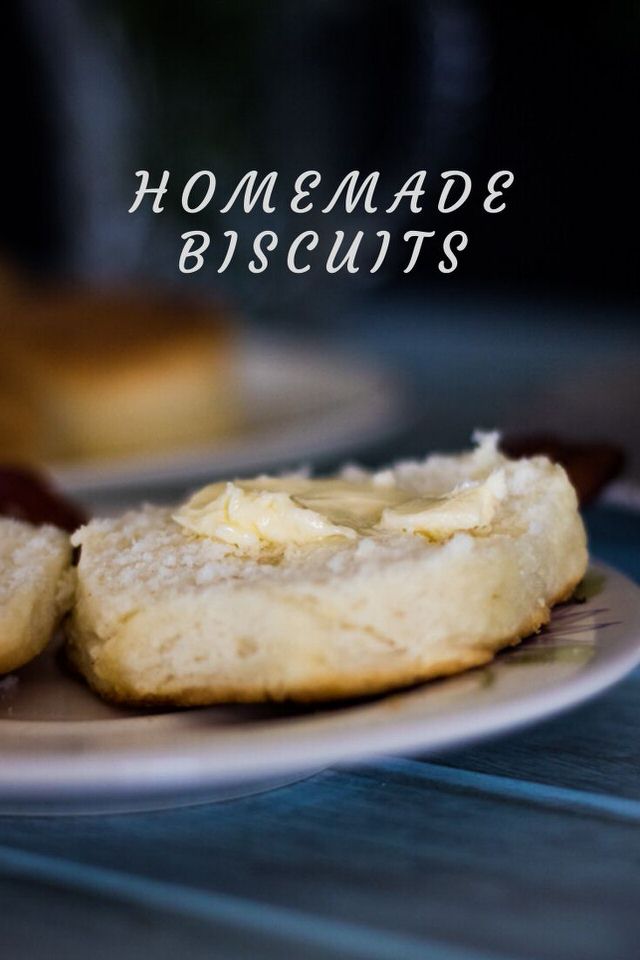
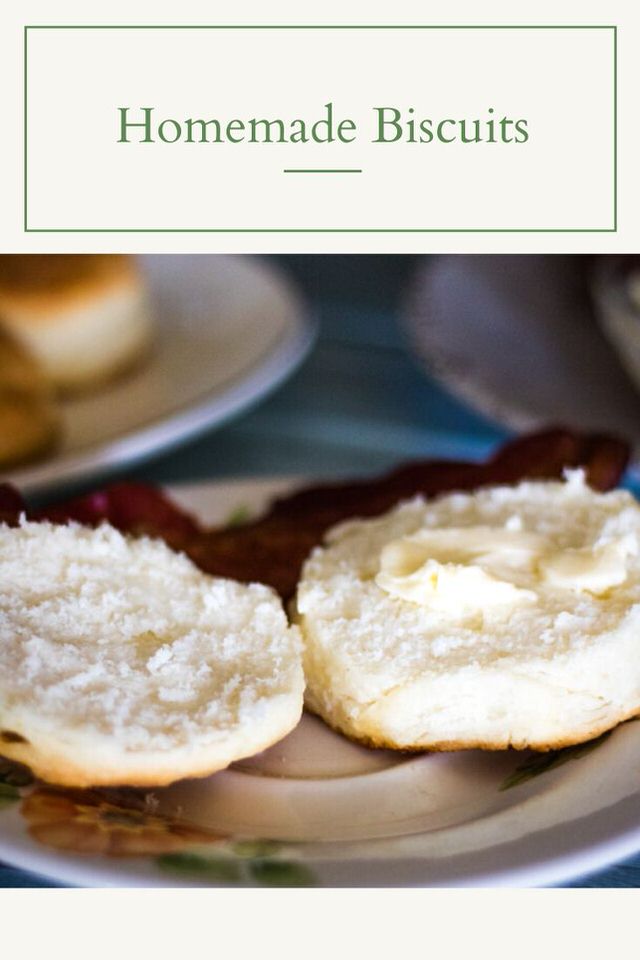
No matter how you eat them you will love them. Whether you use them as a spoon. A base for gravy, spread with jelly or simply with butter; they become the perfect food accessory! Leave a comment if you try them and let us know how they turned out! Enjoy!

Proud to be included in Meal Plan Monday!

Stuff we used!
Homemade Biscuits
Ingredients
- 2 cups Self Rising Flour
- ¼ cup cold cubed Butter
- pinch of Sugar optional
- pinch of Salt
- 1 cup Buttermilk
Instructions
- Preheat oven to 475 degrees Fahrenheit. In a large bowl, mix your Flour with the salt and sugar. I sift mine together using a whisk! Add the butter and cut in with a pastry cutter or two knives. Cut in the butter until it resembles small peas.
- Add in the buttermilk slowly just until the dough starts to form but is still kind of straggly, if that is even a word :). I turn out on a floured board or surface and press together into a ball. I roll it out in a rectangle and fold it in on itself. I repeat the rectangle and fold two more times. This technique is similar to making a pie crust. It makes the flaky layers we all love in the biscuit, without working the dough too much. The final roll, I roll to about ¼ to ½ inch thick and cut with a biscuit cutter.
- Take each biscuit and to form the pretty little dimples on the top, I pat the sides with my thumb and middle finger while gently patting the top with my pointer. It takes a little time but you will eventually get the hang of it. it creates a little dimply pillow of goodness!
- Place in a lightly greased Cast Iron Skillet leaving a little space between each.Spray the tops with cooking spray and place in a preheated 475 degree oven for 10-15 minutes(depending on your oven) Cook until the tops are brown. Brush with melted butter if you’d like.

Brooke Burks
Thanks! It really is so simple. Once you do it one time, you become a pro!
Rachel
I love this! It looks so simple to do!
Brooke Burks
Thanks! They really are!! And taste so good too!!
Tracy @ Cleland Clan
I haven't made homemade biscuits in years--forgot how easy they really are. Thanks for the reminder.
Brooke Burks
You’re welcome! Thanks for stopping by! We hope you’ll come back and visit!
Wendy
Love making buttermilk biscuits! I live in the western part of Michigan in our fruit belt (we call it the Ridge). We make apple butter that we spread on our biscuits! Yummy! Sweet and cinnamony! (if there's such a word) You make your biscuits just like I do. So easy!
Brooke Burks
That sounds soooo good! We always get fresh apple butter when we go to Gatlinburg and I love it! And if cinnamony isn't a word, it definitely SHOULD BE!!! xoxo!
Arthur Whelan
I made these buttermilk biscuits for the first time and they were very easy to make and delicious. I had to use a 12” steel pan because I didnt have the cast iron pan you used. As a result, my biscuits didnt rise as much as yours. Can you provide the make/model/size of your cast iron pan. It looks like a 10.5” Lodge cast iron griddle pan. My grand-daughter asked if I could make her some cheese/chive buttermilk biscuits. Can I do this with your recipe. And if so, what changes would I need to make to the recipe. Thanks for the great recipe.
Brooke Burks
Thank you! I have a link at the very bottom of this post for the exact skillet I used. It is a 10 inch Lodge. For the cheese and chive ones, I would add what you think looks like a good amount 1/2 cup of cheese probably and 2 tablespoons of chives. The only modification to the original recipe you may need to make is to add a bit more buttermilk. The addition of extra cheese may make them not dry enough. Just eyeball it and see if you may need to add a splash more buttermilk to get the consistency right. Let me know how they turn out! They sound delicious!